Watercolour pencils are very attractive and popular art supplies for creating expressive and realistic artwork. They are a very flexible method of colouring and you can achieve a range of different styles.
In fact, they bring together the best of both worlds – the control and precision of a pencil and the vibrant, luminous effects of watercolour. As such, they might be quite useful for artists who are looking to experiment with new techniques or want to add an extra touch of creativity to their work.
What Is a Watercolour Pencil?
In short, a pigmented and easy-to-apply watercolour pencil is a magical and unique art supply for creating outstanding artwork. Think of it as your regular coloured pencils but with the added benefit of watercolour effects.
How’s that? You can use them to draw a sketch or anything you wish. Then, you can use a brush and just enough water over the drawing to spread the colours and voila – you’ve created a watercolour painting.
Watercolour pencils combine drawing and painting in one medium. Thanks to the water-soluble pigments, you can easily blend them with water to get nice rich vibrant colours.
What Is the Difference Between Watercolour and Watercolour Pencils?
Watercolour pencils are very much like standard coloured pencils. But once you add a little water, they turn into watercolour and it no longer looks like a pencil drawing.
Painting with coloured pencils can only cover small sections of the paper, whereas watercolour pencils offer vast coverage with the help of a brush. This is especially convenient when trying to paint abstract pieces or landscapes and you can add layers for multiple shades and various effects.
They are especially good for blending deep colours and layers, to achieve smooth colour blends. Also, it’s way easier to lighten up any colour with watercolour pencils than with conventional coloured pencils.
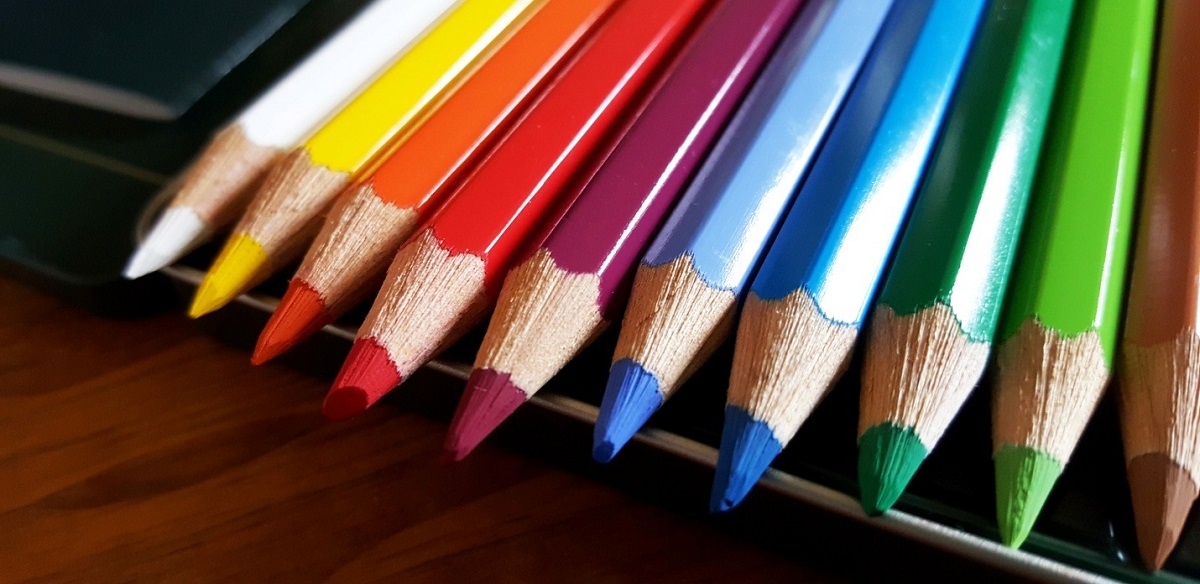
Many watercolour pencils come with chip-resistant leads and contain high-quality pigments for a smooth and vibrant application. Of course, you need to sharpen them just like any regular pencils and for this purpose, you can use conventional sharpeners, a sharpening block or a hobby knife.
Watercolour Pencils vs Watercolours
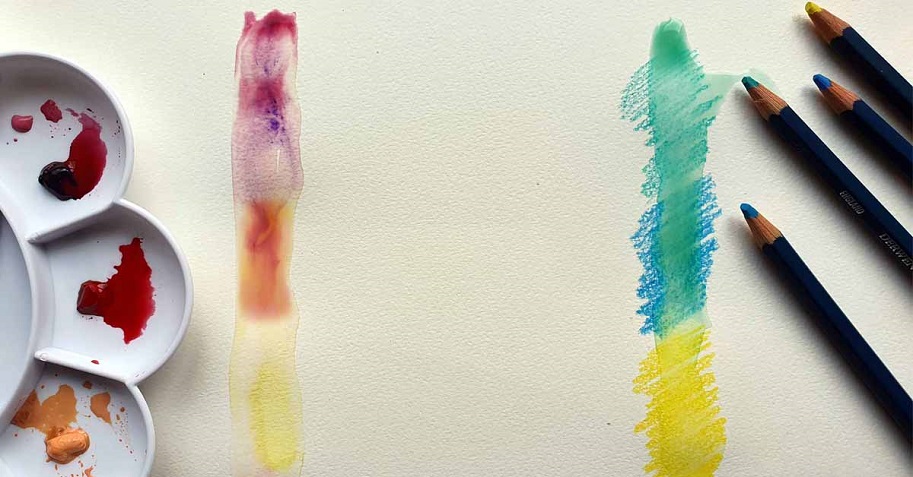
Due to their water-soluble properties, watercolour pencils are often compared to watercolours. They share numerous similarities in various aspects. To achieve optimal results, both watercolours and watercolour pencils are best to use on watercolour paper. Both mediums require water and a brush for colouring and blending. Also, both can be lightened up, unlike coloured pencils.
But the biggest advantage of these kinds pencils is that you can use them to create detailed artwork, minus the messiness that watercolours can cause. Therefore, they are user-friendly and offer optimal results without the risk of ruining your painting and leaving colour stains on your clothes.
Using watercolours requires water and a palette for mixing colours. However, you don’t need a palette for watercolour pencils and generally, they require less water than watercolours. Also, when you paint with watercolours, it’s important to change the water frequently so it doesn’t mess up when picking up a new colour.
Painting with watercolour pencils allows the artist to maintain better control throughout the process and be able to create expressive artwork. Activate the colours by using a stiffer brush for easier and smoother blending.
Step-By-Step Guide on How to Use Watercolour Pencils
Generally speaking, working with these mediums requires less preparation and research. If you’re just a beginner, you will find it easier to learn and adopt new painting skills and techniques, to create well-pigmented art pieces.
What do you need to start? First things first, having a quality watercolour pencil set is crucial for a successful artwork. You can find different sets ranging from 12 to 72 colours and above. There are even water-soluble graphite pencil sets to create a painting that has an ink-wash feel to it.
Next, pencil sharpener, watercolour paper and watercolour brushes. If you want to achieve the best results, use watercolour paper instead of regular paper. This is because watercolour paper is specifically designed for water-based media.
When choosing a brush, it mostly depends on the size and details of your work. Big brushes are ideal for large coverage, and small brushes are suitable for fine details and expressive lines.
Lastly, you will need a cup of water but keep in mind that you will use way less water than when you paint with watercolours.
Step 1: Create a Colour Chart
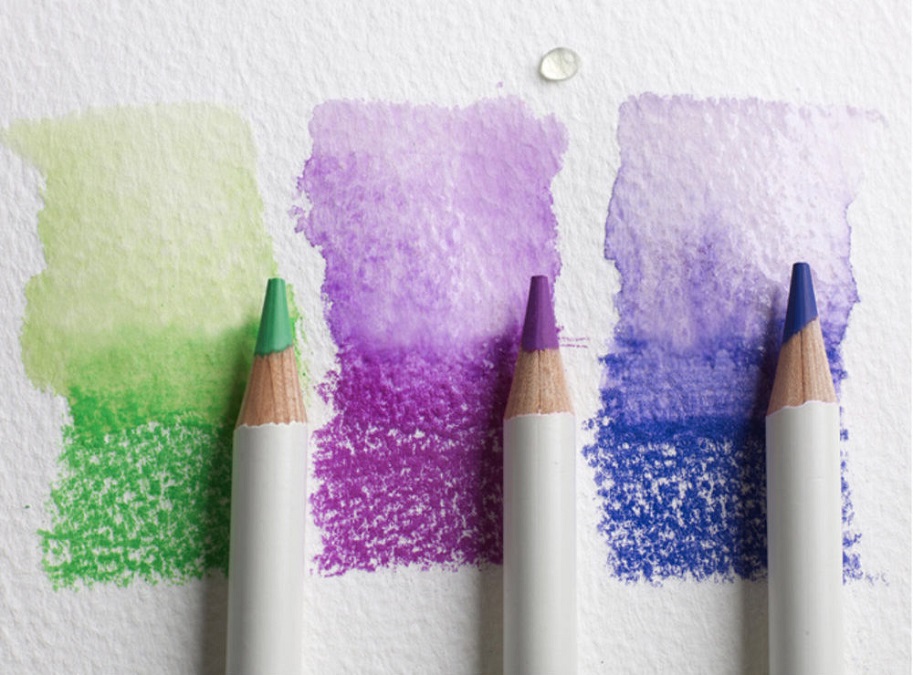
Before you start, the best is to create a sketchbook with all the colours that come with the set. Create a colour chart to test out and see how they feel and look. Always swatch dry and wet colours, to see how each hue looks when it’s wet.
Sketchbook Is the best reference to how well the colours look on your paper. Also, it’s a great way to get familiar with different colours and how they work once applied to a paper.
Step 2: Tape the Paper
Many artists prefer to tape the paper while painting because it helps the paper to stay flat and prevents additional mess once you start blending the colours. You can use washi tape or all-purpose adhesive tape to create clean lines or create sections for multiple paintings. Whether you’ll be using tape or not, it’s totally up to you.
Step 3: Sketch With a Dry Pencil on Dry Paper
If you’re going to create a more saturated look and expressive details, apply more pressure. But if you’re going to sketch the drawing just for a better visualisation, press very lightly. Feel free to experiment on another paper by applying different pressure to observe the results.
Step 4: Use Water and Brush to Activate the Colours
Use a wet brush over the drawing to make your painting come alive. The colours will intensify and you can play with layering to create expressive artwork. Watercolour pencils require only a small amount of water for the colours to be activated.
Step 5: Layer Colours
Start blending the colours. You can multiple layers for different effects and textures. There are endless possibilities of how you can use the colours. Try adding more of the same hue or add contrast to your paint with different hues. However, you don’t want to go overboard with layering as it can mess up your draw and end up with muddy colours.
Step 6: Let Your Layers Dry Before Adding a New One
After you are finished with the first layer, let the colours fully dry before you start adding some more layers. Only when the colours are completely dry, you can see the final results of the different colours. Then you can continue to apply another layer by blending the colours.
Additional Watercolour Pencil Techniques
Use a Dry Pencil on Moistened Paper
Spray your paper with a bit of water just enough to be moistened. Press the pencil on the wet paper to activate the colour on the tip of the pencil. This method is great for easy blending and mixing colours and it creates a perfect balance of dry and wet look. The painting will have the intensity of the wet colour and the texture of the dry pencil.
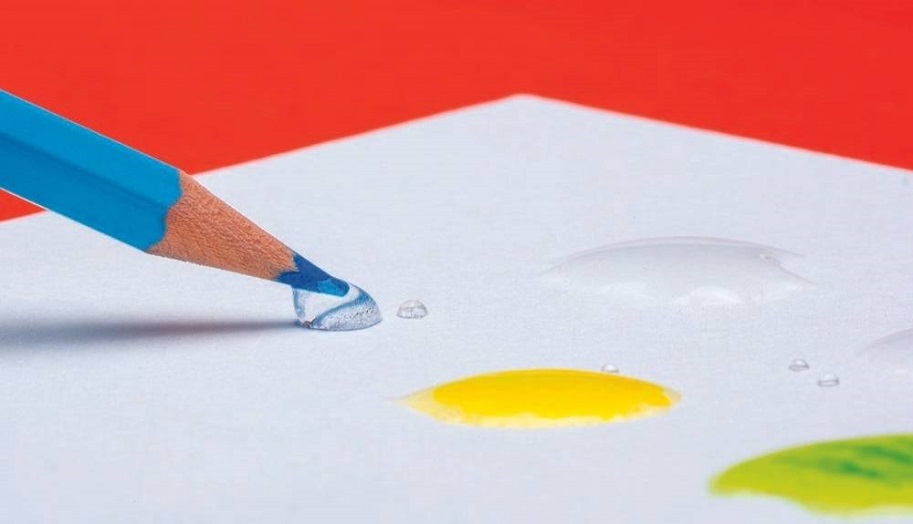
Use a Wet Pencil on Dry Paper
Dip the pencil in water first, to sort of soften the lead. When the pencil is wet, more pigment comes down to the paper and it creates an intense colouring effect. As you apply more pressure, you can achieve a darker and richer colour. If you need to add more water, simply dip the pencil in a cup of water and continue working with it. This technique is great for creating vibrant and bold colours, as well as adding details and accents to your artwork.
Use a Wet Brush on Moistened Paper
Another way to get smooth washes of colour is to use the wet-on-wet method. Use your brush to add water to the paper where you want your painting to be. Then, use the wet paintbrush to pull off some colour from the pencil and apply it to the wet area of the paper. There’s no need to dip the pencil in water, just use the moistened paper to activate the colour on the tip of the pencil. When you want to add more pigment, simply dip the brush in water and continue using it to pull off more pigment from the pencil.
Use a Wet Brush on the Tip of the Pencil to Pick up the Colour
Use the paintbrush to add details to your artwork. Wet the brush and use it to pull some colour off your pencil and start painting. This is also a great way to intensify the existing colour and the best is to use only small brushes for this technique.
When there’s not enough pigment on the pencil, use it to dip it into water and continue painting. Given the versatility and flexibility of these kinds of mediums, there are endless possibilities for creating unique and stunning artwork.